| 1. |
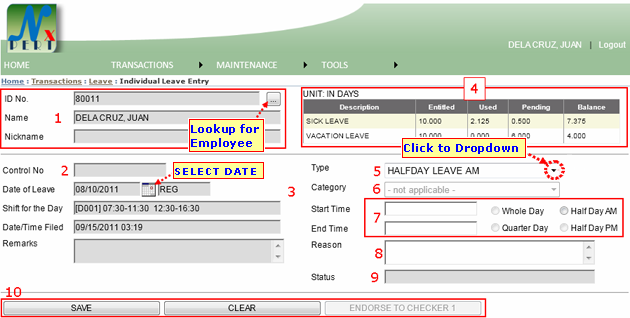
Employee's Information: This is where the current logged user's basic information appears. With ID No., Name, and Nickname.
A user may file an entry for another employee (depending on the system's access grant for users) by clicking the lookup button for employee.
Assume you have clicked the lookup button for Employee, then the system will pop-up another window:
Lookup for Employee:
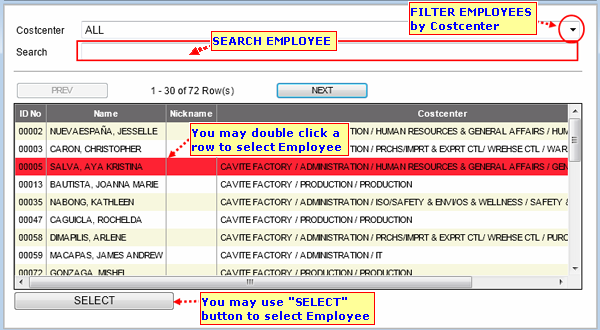
- This pop-up window retrieves lists of all employees from a data source record.
- You may filter an employee by its Costcenter.
- You may select a row from the list and click the button SELECT to select employee. (Selected row is highlighted with red color background)
|
| Note: Filing an entry to another employee is only applicable for users who have an access grant from the system. You may ask your system administrator for further assistance. |
|
| 2. |
Control No: or Transaction Control No., is an auto generated number for every transaction made by user within the system. It is unique in all kind of transaction.
|
|
| 3. |
Date of Leave: Default Date is the system's current date. You can select Leave Date by clicking into this icon ![]() . .
Shift for the Day: This shows an employee's shift or woking hour schedule.
Date Time Filed: The date of entry being filed.
Remarks: Remarks is reserved for future transaction purpose. Your approver/checker mayinput remarks on this entry when checking and approving.
|
|
| 4. |
UNIT: IN DAYS:
|
|
| 5. |
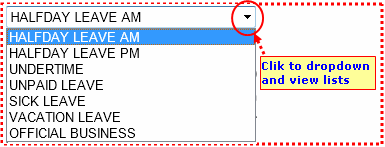
TYPE of leave: View lists and select a type of leave:
|
|
| 6. |
Category:
|
|
| 7. |
The Start Time and Endtime indicates the time duration of your Leave. You may choose one of the options provided for you to correspond its Start and End time.
- Whole Day Leave
- Quarter Day Leave
- Half Day Leave - AM
- Half Day Leave - PM
|
|
| 8. |
Reason: State a reason for this entry. Please be noted that if you have leave this entry empty or any of the required information above during saving, this transaction cannot be save.
|
|
| 9. |
Status: The status will let the user identify the progress for this transaction. It is either: "NEW", "ENDORSED", "APPROVED".
|
|
| 10. |
SAVE button: When done filling all required informations for this Entry. A user may now click the save button.
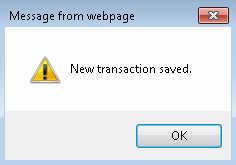
This message from WEB prompts when an entry was successfully saved, the Status will now become "NEW". Click OK to continue.
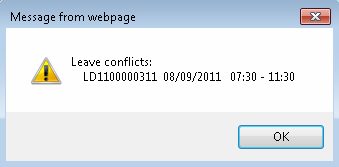
This message from WEB prompts when there is Leave conflicts and cannot be save. Please check your entry and try to save it again.
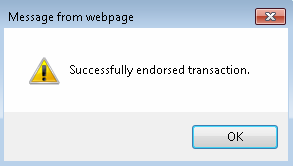
ENDORSE TO CHECKER 1 button: When entry/transaction was successfully saved. A user may now click this button to Endorse Transaction to Checker/Approver. This message from WEB prompts when entry/transaction was successfully endorsed. Click OK to continue.
|
| Please be noted that all saved and endorsed transactions will be included to "NEW AND PENDING TRANSACTION" from your "HOME" |
|
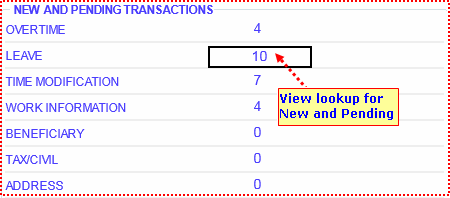
Assume you want to view NEW AND PENDING TRANSACTIONS from HOME:

From "HOME" you can see the number(s) of "NEW AND PENDING TRANSACTIONS" you may click the number to view its details.
Lookup Details for Leave NEW AND PENDING TRANSACTIONS:
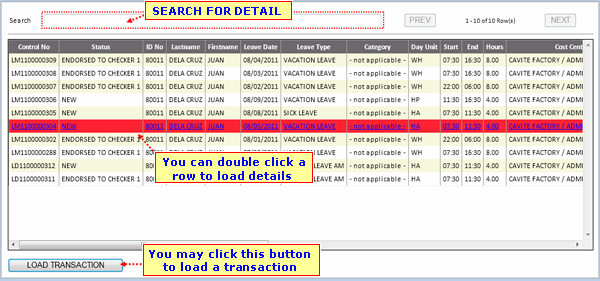
- Here you'll see all Overtime Entry transactions with status "NEW" and "ENDORSED TO CHECKER 1"
- Please be noted that you can only LOAD TRANSACTION with status "NEW"
Assume you have load transaction. This message from WEB prompts. Click OK to continue.
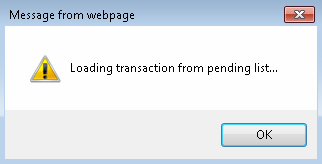
You will be redirected to Individual Overtime Entry with details loaded from New and Pending Transactions as shown below:
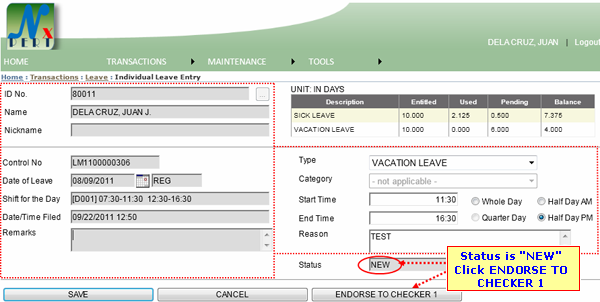
- You can edit this entry and SAVE for update. Or,
- You can ENDORSE TO CHECKER 1 (Status will change to "ENDORSE TO CHECKER 1). Or,
- You can CANCEL this transaction.
|
